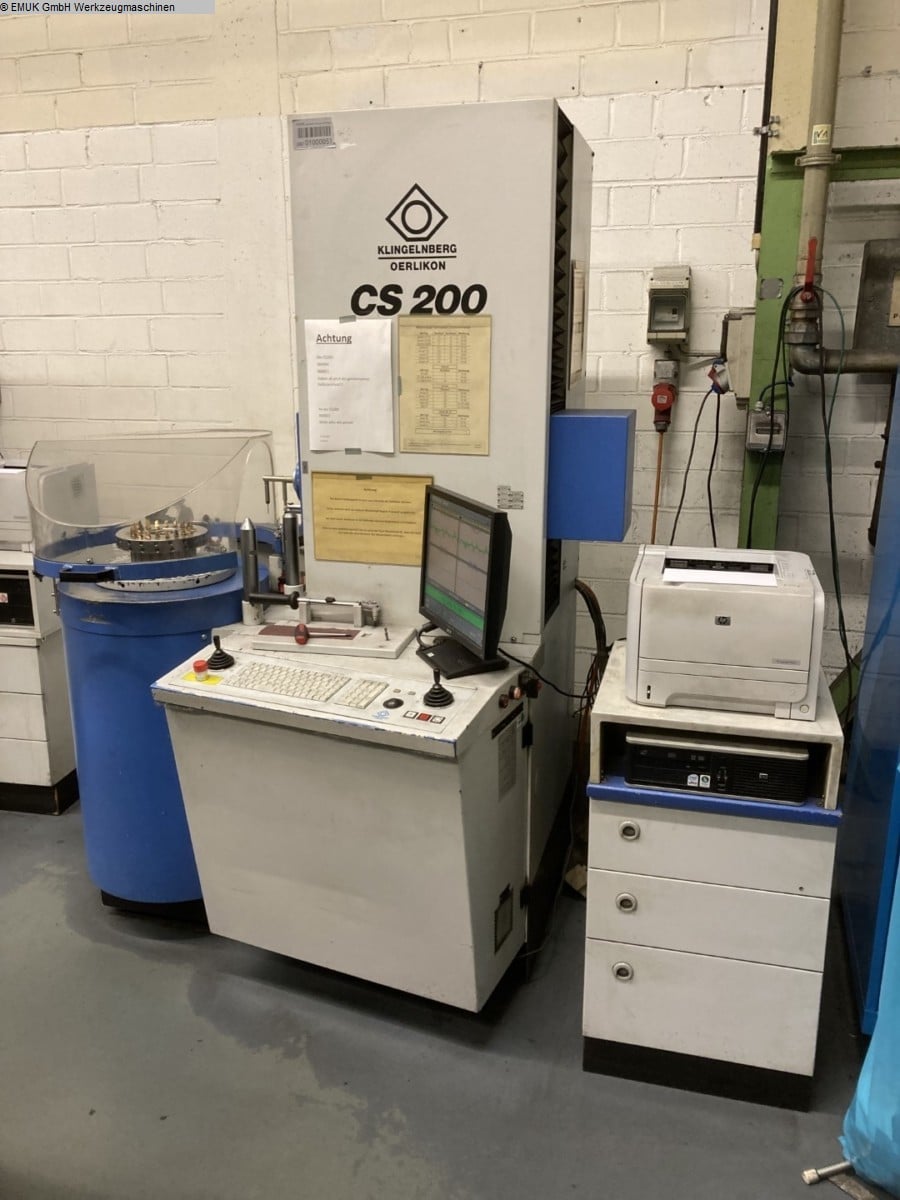
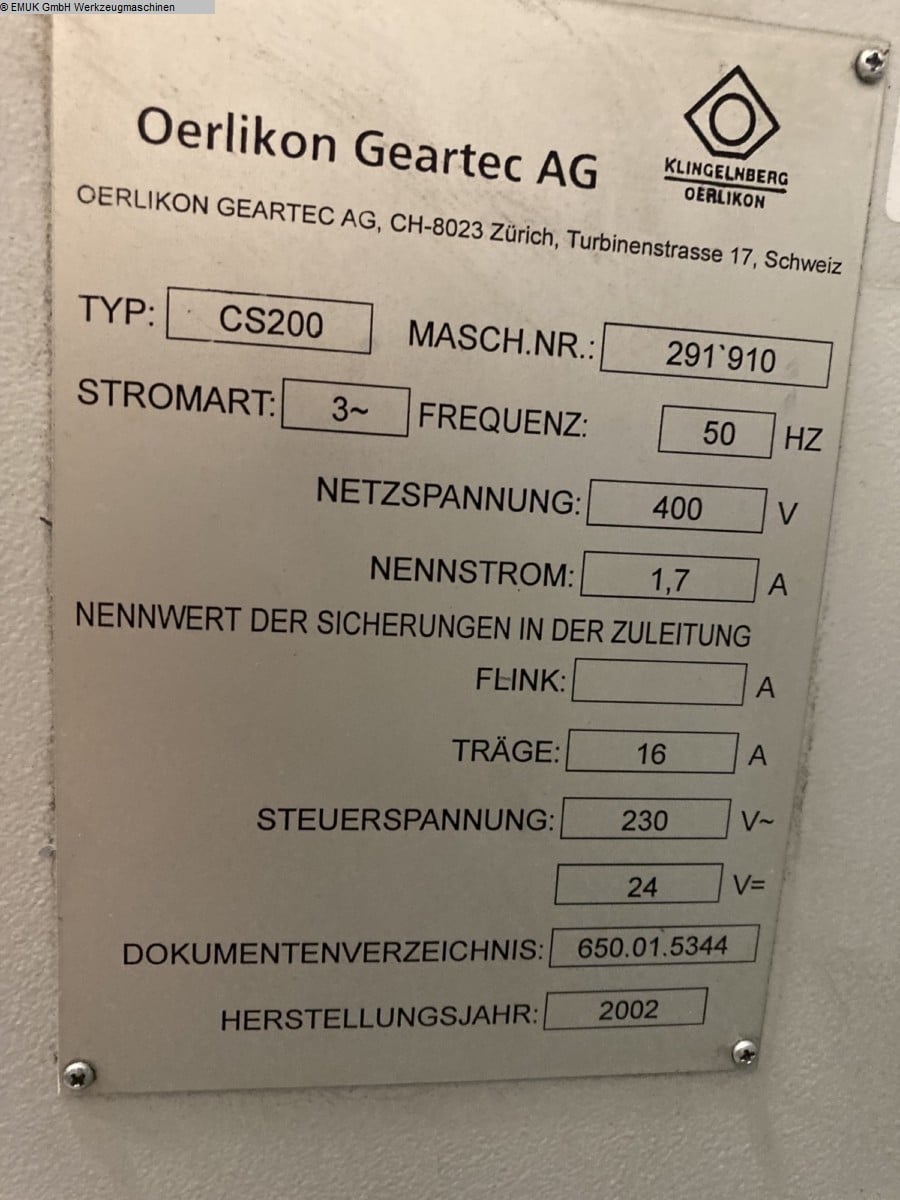
KLINGELNBERG-OERLIKON CS 200
In the manufacturing process for spiral-toothed bevel gears, the quality of the
gear cutting gear cutting tools used plays a decisive role. Particularly in
high gear cutting quality and a long service life can only be achieved with
precisely can only be achieved with precisely adjusted cutterheads.
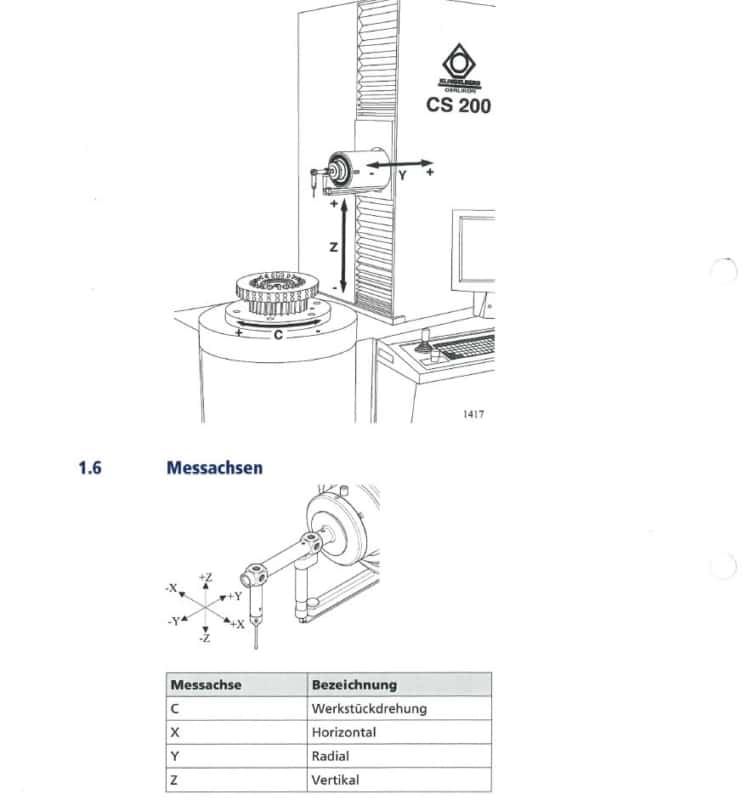
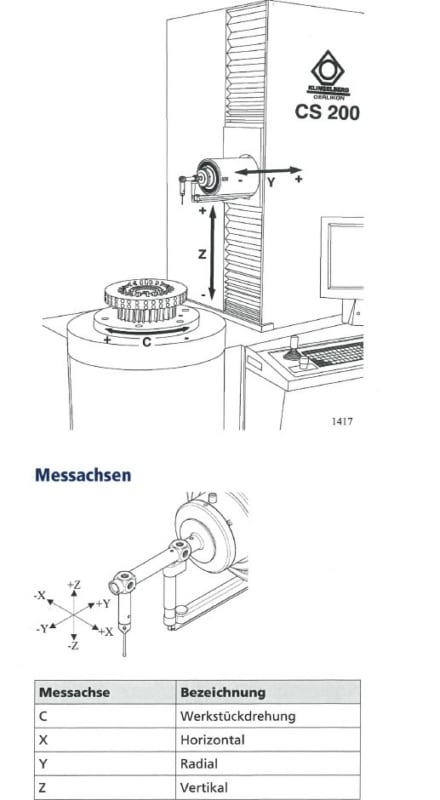
The Oerlikon cutterhead setting and testing device CS 200 enables quick and
easy setting of the individual knives and simple adjustment of the individual
knives, it checks the position and documents the measurement results. The
measuring sequence on the CNC-controlled testing device is partially automated:
The individual actions for carrying out the actions for carrying out the
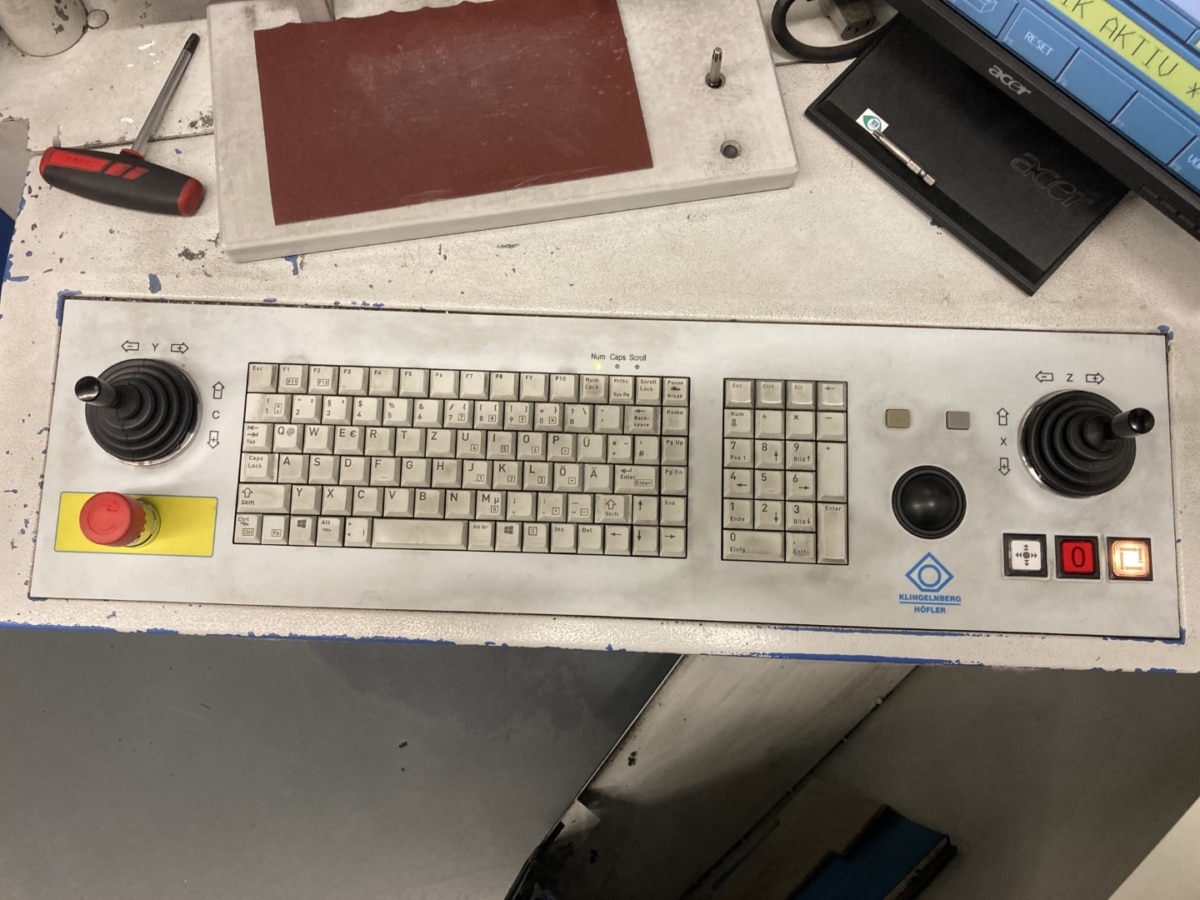
sequence are displayed on the screen via the operator guidance. The positioning
of the individual knives in the cutter head and the height of the knife tips is
largely automatic thanks to a special sequence and is simultaneously documented
by means of a run-out diagram. A subsequent measuring sequence checks the
radial position of the inner and outer cutting edges of all knives in the
cutterhead. If individual test parameters on the knives do not correspond to the
the tolerance specifications, this can be individually repositioned. The
combination of semi-automated setting sequence, operator-guided set-up actions
and automatic operator-guided set-up actions and automatic measuring sequence,
cutterheads can be can be set conveniently, quickly and with high precision.
Operator-guided setting and test sequence
- Graphic display of the cutter head design and the measurement results with
tolerance check
- Instructions for the operator in plain text Instructions for the operator in
plain text (without coded information)
- Simple assignment of the measurement results to the knives
- Documentation of the setting and measurement results via printer- Setting and
test sequence suitable for ARCON®, RSR, Spirapid, SPIRON®, TRI-AC® types
- Interface for neutral data
